The goal of this post is simple— I’m here to convince you to swap out your plastic cutting boards for wooden ones.
There are a bunch of reasons why wood cutting boards are superior to plastic ones. They’re more gentle on your knives, they perform better, and they’re much more aesthetic.
Even more importantly, they won’t leach microplastics into your food. Those knife marks you notice in your plastic cutting board produce tiny shavings of plastic that end up in the food you cook— not ideal. And contrary to what a lot of people think, wood boards are actually more sanitary than plastic boards. Multiple studies have shown that wood’s natural anti-microbial properties do a better job of killing bacteria than plastic does. I have one large wood cutting board that I use for nearly everything— including raw chicken and fish. But I know that some people prefer to have separate boards for those tasks, so I’ve also included some recommendations for non-plastic lightweight boards that can go in the dishwasher.
This post is an attempt to answer all the questions you might have about purchasing, using, and maintaining wood boards.
Buying Wood Cutting Boards

There are a few things to consider when buying a wood cutting board, but I’ll do my best not to over-complicate it. First, you want a board that’s made from a hardwood that’s both durable and gentle on knives. Maple, walnut, teak, acacia, and beech are all common and good options. Avoid bamboo cutting boards— they’re too hard and might damage your knives.
You’ll hear a lot of talk about end grain versus edge grain boards. End grain boards are more expensive, require a bit more maintenance, and have a few properties that make them superior to edge grain boards. But the differences aren’t huge and the price differential is significant. Most people will be fine with an edge grain board, but if you want the best of the best and are willing to maintain it, go for end grain.
The final factors to consider are size and shape. I personally find larger wood boards to be far more useful— my butcher block measures 17.75 x 11.75in, and that’s the smallest I’d go for everyday use. I also highly recommend a rectangular board— you’ll see boards in all kinds of different shapes, but most of those are inconvenient and weird to work with. Go for a classic rectangular shape for the most ease-of-use and versatility. I prefer a board that’s flat on one side and has a groove to catch meat juices on the other.
Below I’ve included a few recommendations for boards I like. But I’d also encourage you to seek out small/local makers if you can find them.
- John Boos Boos Blocks are a reputable line of boards respected by a lot of chefs. They offer options for various woods, sizes, weights, and end grain or edge grain boards. This board would probably be my first recommendation for starters.
- Made In Butcher Block This is what I currently own. There’s an argument to be made that it might be slightly overpriced, but it’s a very solid board that’s served me well with good maintenance.
- Ironwood Gourmet I haven’t used this board myself, but it comes recommended from trusted sources. It seems like an excellent option at a price point you can’t beat.
Lightweight Boards
There are two primary complaints I hear about wood cutting boards— they’re too heavy, and they can’t go in a dishwasher.
Luckily, there’s a brand that solves both of these problems. They’re called Epicurean boards (also available on Amazon), and they’re great. They’re made of a paper/wood pulp composite— they’re lightweight, durable, look nice, and are dishwasher safe. While the paper composite doesn’t get you all of the benefits of true hardwood, they’re a great alternative that still avoids plastic.
I still recommend buying one proper wood board, but these are nice to have for other tasks. I personally keep one large wood cutting board and two Epicurean boards in my kitchen for quick cleanup and prep of fish, meat, and poultry.
Washing, Drying, and Storage
Wood cutting boards are actually quite easy to clean, in my opinion, as long as you follow a few rules.
I always wash my board in hot, soapy water before drying it thoroughly with a kitchen towel. After that (and this is the important part) I lean it up somewhere so that it can air dry on both sides. This makes a huge difference to prevent warping from moisture.
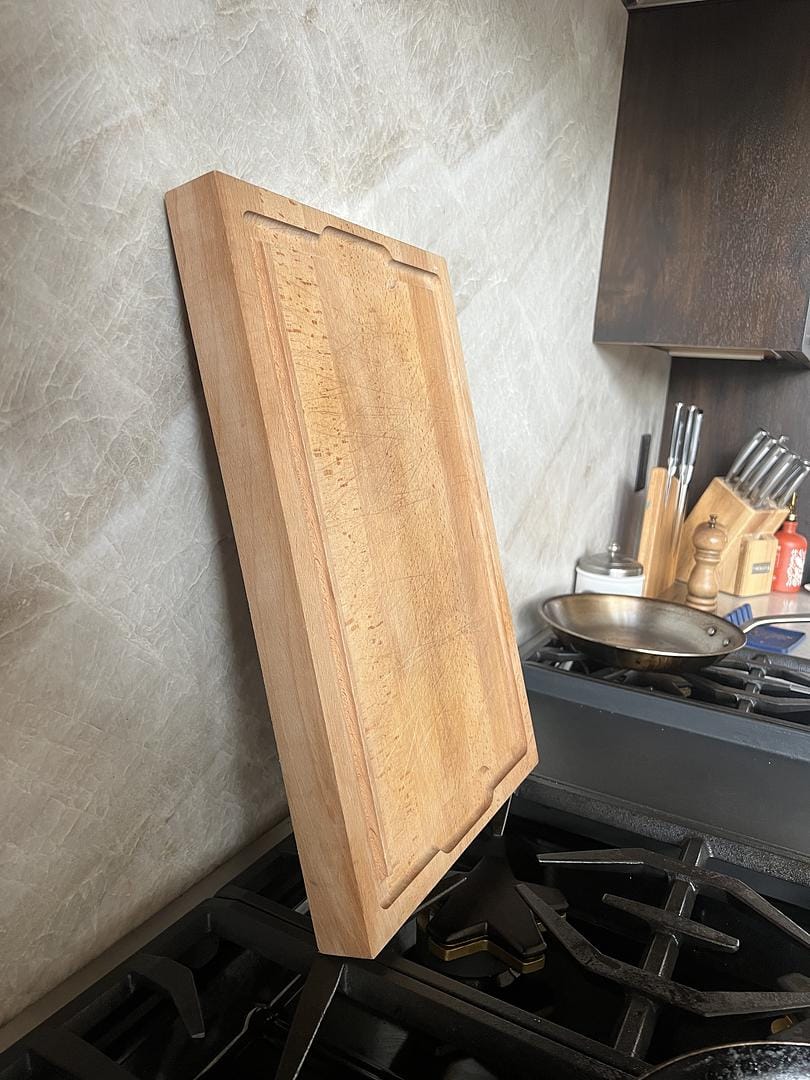
Ideally, wood boards should be stored on their side (as shown in the second photo) to get continuous air flow.


I’ve had a few students in my course complain about their wood boards holding onto certain odors (onion, garlic, etc) longer than they’d like. I haven’t experienced this much myself, but some people recommend rubbing a spritz of white vinegar or lemon juice into the board, letting it sit a few minutes, and then washing it. I’ve also heard that you can simply let the board sit out in direct sun for a couple hours to help neutralize the odor.
Most issues with odor likely result from the board being too porous as a result of not being well-oiled. Which leads us to our next section…
Oiling and Maintenance

Wood boards will dry out without proper maintenance. They’re naturally porous, which means that things like water (the enemy of wood kitchen tools) can leak into the interior, causing problems like warping and cracking. This porousness is also the culprit when smells get in that seem to stick around longer than we want.
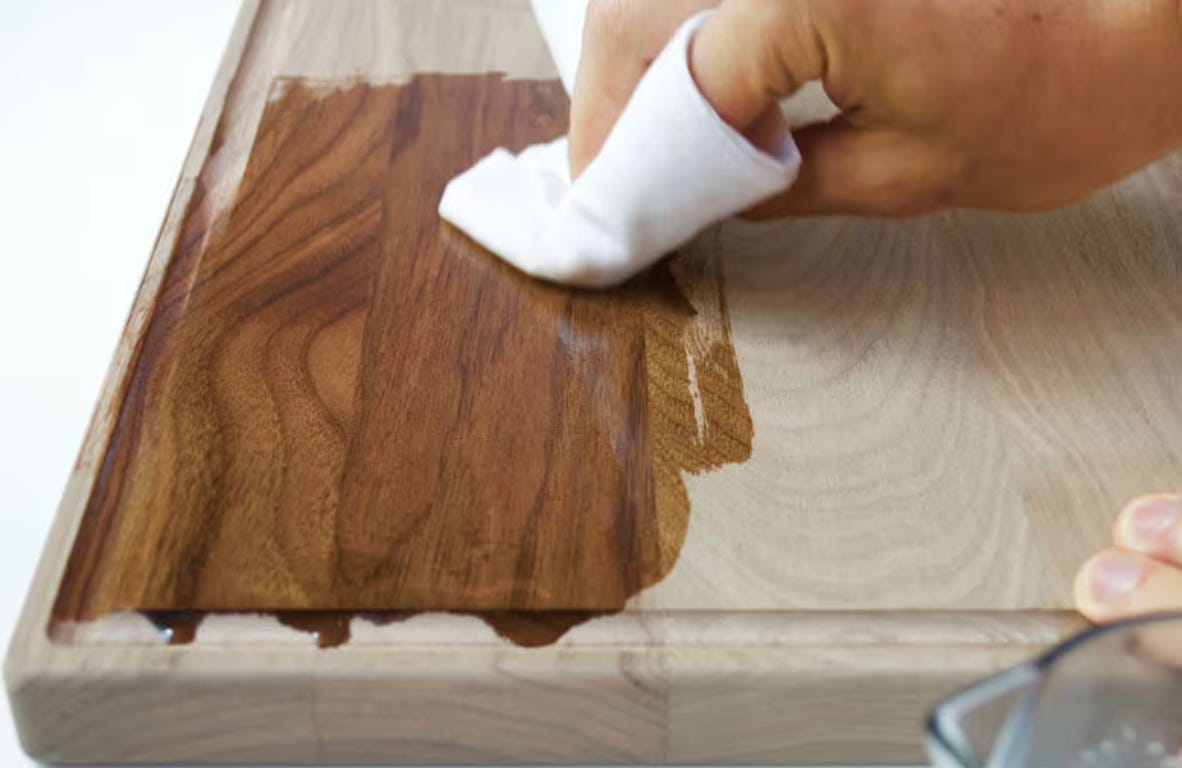
What’s the solution? Creating a barrier via oil that prevents water and smells from leaking in. This functions similarly to seasoning with a cast iron skillet. You simply add a layer of oil, spread it around the board, and give it time to soak in.
I used to think of oiling boards as a complicated thing, but it’s really not. Watch this short video below for a quick explanation of how to do it.
These days, I aim to oil my wood boards as soon as I purchase them, and then again every couple of months or so, especially when it looks and feels dry. I use walnut oil, but you can also purchase dedicated board oil.
Simply apply enough that it has a nice sheen, let it soak in, and then repeat as necessary. There are a ton of visual resources on YouTube if you’re lost.

